How isometric autotiles work (2:1 diamonds and the 15-piece set)
An isometric tileset looks complicated, but it's the same trick as a top-down autotile set, rotated and squashed. Once you see that, the 15 pieces, the draw order and the engine settings all make sense.
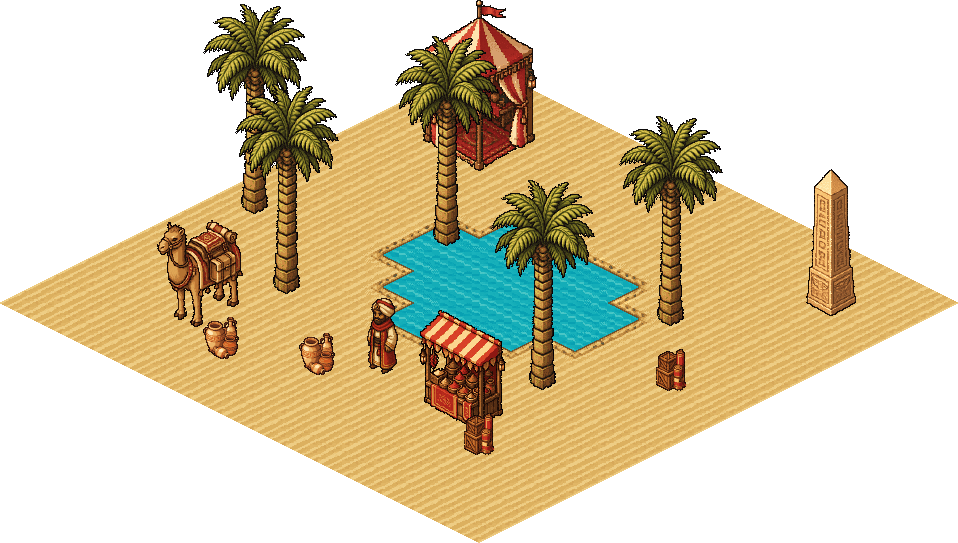
Why games use a 2:1 diamond
"Isometric" in games almost never means true isometric (30 degree lines). It means a 2:1 diamond: every tile is twice as wide as it is tall, usually 64x32 or 32x16 pixels. The reason is the pixel grid. A 2:1 edge steps exactly 2 pixels across for every 1 down, so the diagonal is a clean, repeating staircase with no jaggies. A true 30 degree line doesn't land on whole pixels and looks messy at small sizes.
Start from top-down: the corner set
A corner autotile set (Godot calls it matching corners, Tiled calls it a corner Wang set) works like this: every tile has four corners, and each corner is either terrain or not terrain. Four corners, two states each, gives 16 combinations. Drop the empty one and you have 15 tiles: the full tile, four straight edges, four outer corners, four inner corners and two diagonals.
Those 15 cover every shape a terrain can make on the grid. That's the whole point: you paint which cells are grass, and the engine picks the tile whose corners match its neighbours.
Rotate it 45 degrees, squash it 2:1
An isometric corner set is the same 15 tiles. Rotate the square 45 degrees and squash it to half height, and the four corners become the four points of the diamond: top, right, bottom and left. Each tile is still "which of my four points are terrain", so the same 15 combinations cover every iso shape too.
If you're numbering them, a common scheme gives each point a bit (top = 1, right = 2, left = 4, bottom = 8) and uses the sum as the tile index. Tile 15 is the full diamond.
Raised tiles and draw order
Flat diamonds partition the map exactly, so they never overlap. Raised tiles (a plateau with cliff sides) are different: the side faces hang below the diamond and overlap the row in front. Two rules keep that tidy:
- Draw back to front. Render rows from the top of the screen to the bottom, so nearer tiles cover the cliffs of tiles behind them. Godot and Tiled both do this for isometric layers.
- Keep side faces inside their own tile. A cliff face belongs to the tile whose bottom edge it hangs from. If a face spills into a neighbour's cell, you'll see bits of cliff poking out wherever that neighbour is a different terrain.
In practice the cell for a raised tile is taller than the diamond (width x height plus depth), and the diamond sits at the top of it.
Setting it up in Godot 4
- Create a TileSet with Tile Shape set to Isometric and Tile Layout to Diamond Down, with the tile size at your diamond size (64x32).
- Add the atlas and set its region size to the full cell (taller than 32 if the tiles are raised), with a texture origin so the diamond lines up.
- Add a terrain set in Match Corners mode and paint each tile's corner bits in the TileSet editor.
Then paint with the terrain tool on a TileMapLayer and the right pieces fall into place. Remember nearest filtering for pixel art (see pixel art in Godot 4).
Setting it up in Tiled
- Make the map with Orientation: Isometric and the tile size at the diamond size (64x32).
- Add the tileset (a taller tile height is fine for raised tiles; Tiled draws them bottom-aligned).
- Add a Corner Wang set and mark each tile's corners, then paint with the terrain brush.
Common mistakes
- Tiles drawn one at a time. If each piece is made separately, the edges won't quite match and you get visible seams. Draw (or generate) the set together.
- Anti-aliased edges. Soft, semi-transparent edge pixels show up as dark lines between diamonds. Keep edges hard.
- Odd diamond heights. A 64x33 tile breaks the 2:1 staircase. Stick to exact halves.
- Props at the wrong scale. Objects on an iso map need to match the tile size, or a barrel ends up as big as a house. Place them by the centre of their base, not their top-left corner.
Skip the manual setup
SpriteLab's tileset generator draws the full 15-piece set in one go, top-down or isometric, and exports the Godot and Tiled files with the terrain already set up. Fill the map with iso props at the same scale.
MAKE AN ISO TILESET 25 free credits + 5 daily. No card needed.